
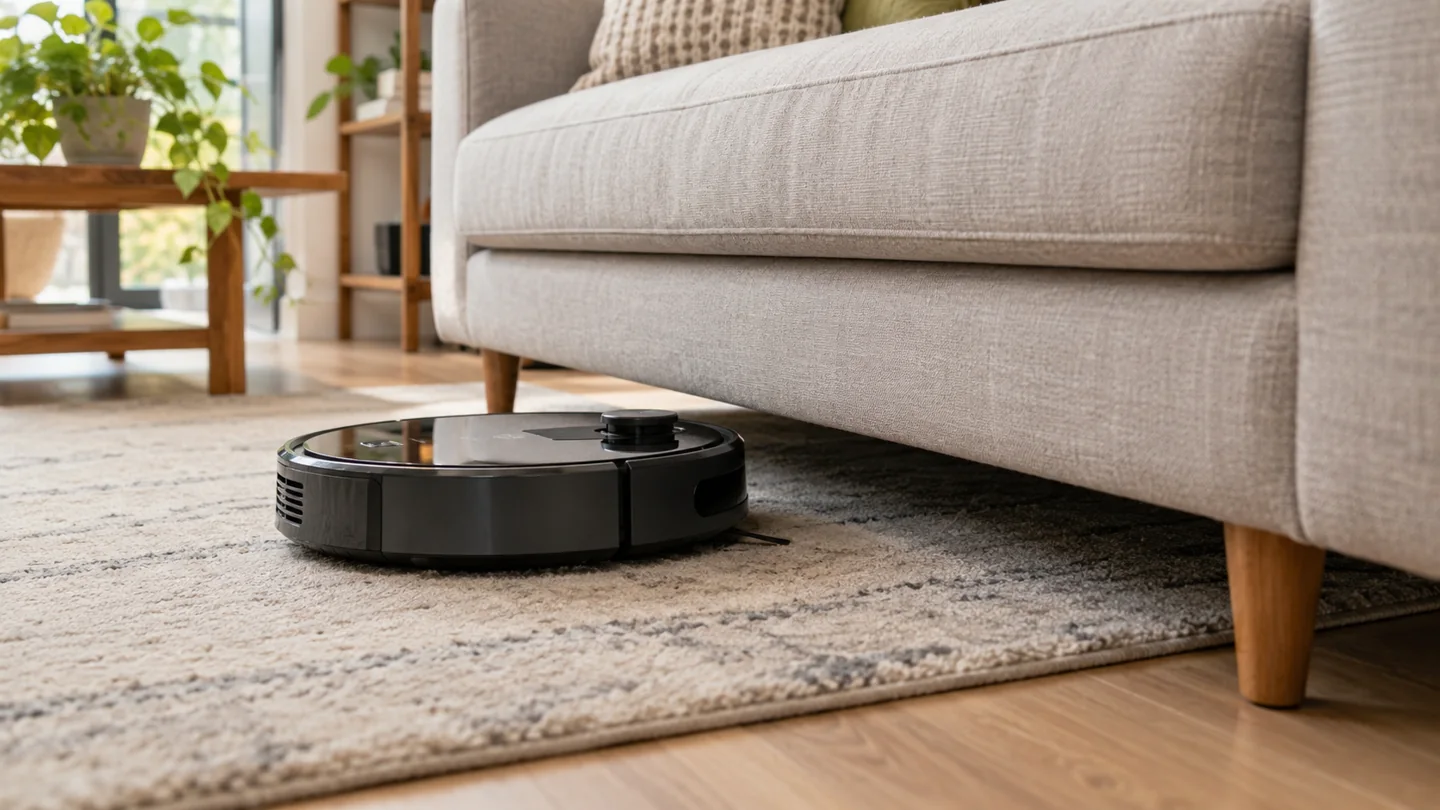
Keep a robot vacuum from getting stuck under furniture by measuring the full opening, identifying the point where it catches, and using a compatible boundary or safe layout change. The opening at the front may be higher than the space farther underneath. A robot can enter easily and then become wedged beneath a sloping rail, upholstery, or raised floor feature.
Do not cut a rug, attach objects to the robot, cover sensors, or put heavy furniture on improvised supports. The useful solution is either enough stable clearance for the entire route or a reliable way to keep the robot out.
First identify how it becomes trapped
| What happens | What to inspect |
|---|---|
| Front enters but top becomes wedged | Sloping underside, low crossrail, raised sensor housing, or compressed upholstery |
| Wheels spin on a furniture base | Angled chair base, pedestal foot, or narrow raised support |
| Robot stops with a tangle | Cables, fringe, thread, fabric, or objects beneath the furniture |
| It enters but cannot turn out | Narrow legs, tight corners, and insufficient maneuvering room |
| It refuses the opening without contact | Sensor response, map boundary, lighting requirements, or a detected obstacle |
Record the stopping location and error. A wheel error caused by a cable needs a different response from physical contact between a sensor tower and a sofa rail.
Measure the lowest point, not just the front edge
Check the height and width of the opening along the robot’s intended route. Include crossbars, legs, hanging fabric, sloped sections, and any rug that raises the robot as it moves underneath. Compare with the robot’s full maximum height, including sensor housings and other raised parts.
Do not rely on a nominal body height if the highest component is taller. Also allow the clearance and movement space the manufacturer requires rather than aiming for a friction-tight fit.
A change of rug, furniture position, or cushion loading can change the available gap. Recheck a previously successful route after the room layout changes.
Use supported no-go zones where available
A mapped robot may let you exclude a rectangular area, draw a boundary, or define a room. Check the exact controls offered by the model and firmware. A cleaning-history map is not automatically an editable map.
Place the boundary according to the manufacturer’s instructions so the robot avoids entering the troublesome opening. Test the normal approach under supervision rather than assuming the first line drawn on the app is perfect.
Roborock’s home-preparation guidance is an example of model-related route and map preparation. Use the matching guide for your own machine. Do not assume a feature on one mapped model exists on a reactive robot.
Use only compatible physical boundaries
Some robots support a particular virtual-wall device, boundary strip, or another physical exclusion method. Compatibility matters: magnetic strips do not control every robot, and an infrared accessory is not a universal barrier.
iRobot’s Virtual Wall information illustrates a specific boundary system. Check the supported robot family and placement rules before purchasing or using an accessory.
A stable physical barrier may be appropriate in some layouts, but it must not create a trip hazard, obstruct a needed exit, pinch cables, or interfere with safe furniture use. Do not stack loose objects where a child or pet can dislodge them.
Clear what the robot should never encounter underneath
Remove charging leads, loose fabric, small toys, socks, thread, and packaging from the route. Route cables with an appropriate management system that does not damage electrical insulation or create a walking hazard.
Check furniture skirts and rug fringe. Do not cut fabric or a rug merely to help the robot. Follow the item’s care instructions and keep the robot out when the material cannot be arranged safely.
Look for hard fragments and sharp objects before reaching underneath. Switch the robot off before removing tangled material, and do not pull it out by the bumper, side brush, or sensor housing.
Should you raise the furniture?
Only consider a change approved for the furniture’s construction and load. Manufacturer-compatible legs or properly rated supports may be an option, but stability, anchoring, floor protection, and normal use all matter. Do not raise dressers, cabinets, beds, or seating on improvised blocks just to create cleaning clearance.
Changing the height can affect tip-over risk and required anchoring. Moving a support point can also change how a frame carries weight. Ask the furniture manufacturer or a suitable professional before altering the structure.
Putting furniture on casters is not a general fix. It can introduce unwanted movement and does not automatically provide a safe, stable height. Cleaning under the item manually may be simpler and more appropriate.
Do not modify the robot to make it “notice” furniture
Attaching foam blocks, screws, zip ties, cardboard, or other objects to the robot can interfere with its bumper, sensors, docking, balance, or clearance. Do not rely on an improvised raised bumper to compensate for an unsuitable opening.
Do not tape over cliff sensors, remove covers, alter wheels, or attach a threshold ramp to the chassis. Those modifications can create new faults and safety risks. Use documented accessories and operating methods.
A low-profile robot can suit some furniture better, but height is only one factor. It still needs turning room, a clear floor, a compatible cleaning system, and a route back out.
How to recover a stuck robot
- Stop the robot. Use its documented controls before reaching near moving parts.
- Look for the catch point. Check whether the top, roller, wheel, cable, or furniture base is holding it.
- Free it without force. If furniture must be moved, do so safely with appropriate help; do not lift a heavy unstable item while pulling the robot.
- Inspect both surfaces. Look for damage, trapped grit, displaced covers, or tangles.
- Exclude the area. Do not restart the same failed route until the cause is resolved.
If the robot has damaged electrical parts, unusual heat, smoke, or a battery concern, stop using it and contact support. An ordinary entrapment guide does not cover an active electrical fault.
Test the complete route after a change
Once a compatible solution is in place, watch a normal approach and exit. Include turns and return travel rather than positioning the robot by hand in the only angle that works. Check whether it can enter from a different side during its normal pattern.
Inspect the furniture and floor afterward for rubbing or marks. A route that requires repeated rescue is not reliable enough to treat as resolved. Keep the boundary in place or use another cleaning method.
For a robot that stops elsewhere too, see unexpected stopping troubleshooting. Maintain wheels, roller ends, and sensors with the robot care routine.
Clean excluded spaces deliberately
An exclusion zone prevents entrapment but leaves an area for another tool. Add that space to a manual cleaning rotation using a compatible low-reach attachment or safe furniture-moving procedure.
Do not mistake an untouched area on the map for a clean floor. The robot can only collect debris where it can operate. Our guide to robot and manual vacuum roles explains why both tools may remain useful.
Frequently asked questions
Why does it fit one day and get stuck the next?
A rug, furniture position, hanging fabric, loading, or approach angle may have changed. Recheck the full opening and route rather than assuming the robot’s dimensions changed.
Will a threshold ramp help under a sofa?
Usually the relevant issue is clearance or a furniture base, not a doorway transition. A ramp can raise the robot farther into the underside. Diagnose the geometry before adding an accessory.
Should I buy a thinner robot?
Compare the full height and route requirements, but first check whether a safe boundary and manual cleaning plan solve the problem. A lower robot is not guaranteed to navigate every furniture shape.
Choose clearance or exclusion
Give the robot enough safe space to travel and turn, or reliably keep it out. Measured clearance, compatible boundaries, and a planned manual cleanup are better than repeated rescue or improvised modifications.

Katy James contributes vacuum-cleaner explainers and practical cleaning guidance at GlobVacs. Her published topics include robot-vacuum operation and vacuum airflow. Read her author profile and selected articles.