
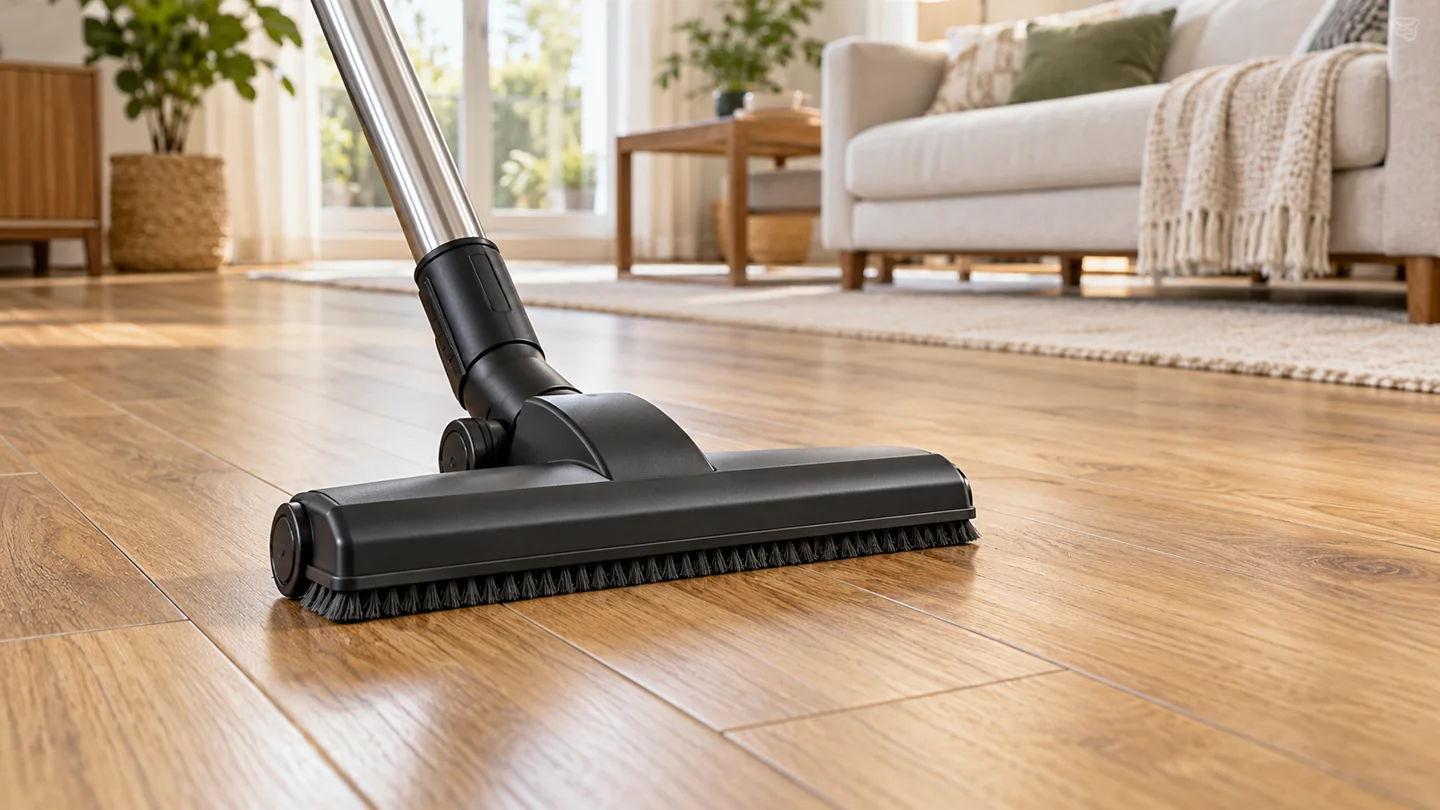
Choosing a vacuum head for vinyl plank flooring starts with the floor manufacturer's care instructions. Look for an attachment approved for that surface, then check its brush action, wheels, and underside. A “pet” label or high suction claim does not tell you whether the head is suitable for your floor.
A good setup should collect everyday dust and crumbs without dragging trapped grit across the finish. It should also be convenient enough that you do not avoid using it. Here is how to assess the attachment you already own and compare alternatives sensibly.
Start with the flooring care guide
Find the instructions for your exact flooring collection if possible. Vinyl products can differ in construction, finish, and maintenance requirements. General advice should not override those instructions.
For example, Shaw’s resilient vinyl care guidance advises against vacuums with a rotating beater bar. That is a reason to check your own floor's requirements before assuming an aggressive carpet head is acceptable.
If the flooring guide excludes a rotating brush, a vacuum's marketing claim that it works on “all floors” does not resolve the conflict. Choose a compliant attachment or contact the flooring manufacturer for clarification.
Compare the main head types
| Head type | What to check before use |
|---|---|
| Suction-only hard-floor head | Clean contact strips, free-turning wheels, and suitable debris clearance |
| Powered carpet head | Whether the roller can stop and whether the floor maker permits the head |
| Soft roller head | Surface approval, maintenance instructions, and trapped grit around the roller |
| Combination floor tool | How its floor selector works and whether it changes brush action or only bristle position |
A soft appearance is not a guarantee against damage. Dirt trapped in an otherwise suitable attachment still needs attention.
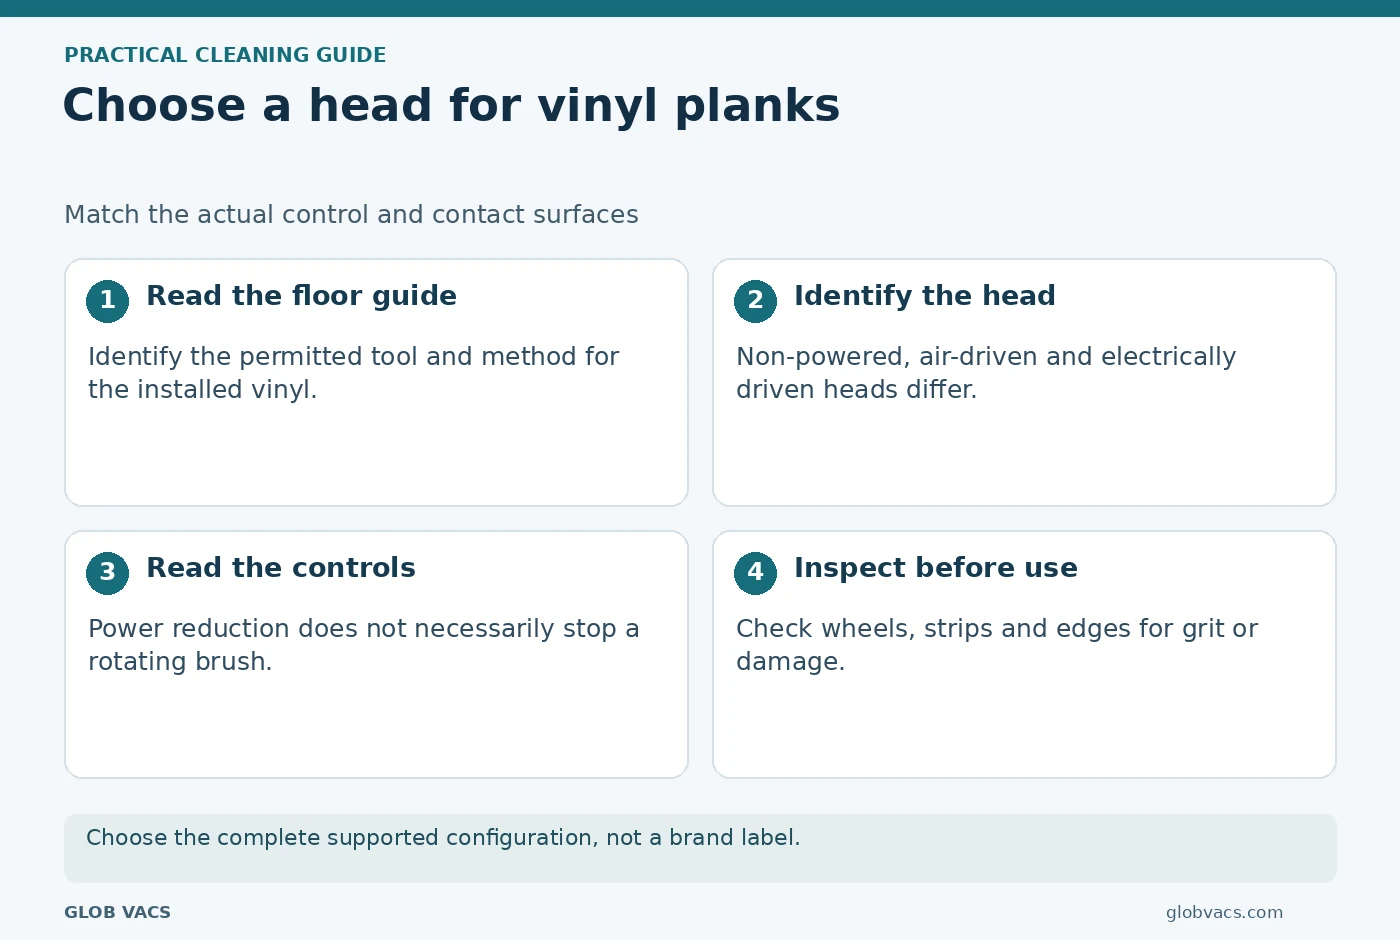
Inspect every part that touches the floor
With the machine switched off and isolated as directed, turn the head over. Look at the wheels, contact strips, edges, and any exposed hard parts. Remove debris using the approved maintenance method.
Check whether wheels turn freely. Look for a missing strip, cracked housing, or grit lodged near an axle. If the head has obvious damage, stop using it until the manufacturer confirms the repair or replacement needed.
Do this inspection after cleaning a gritty entrance or another debris-heavy area. A clean head on the first pass can become a dirty head by the next room.
Check brush control rather than relying on the mode name
“Hard floor” does not mean the same thing on every machine. The setting may stop a roller, change its speed, alter suction, or change the position of a brush strip.
Read what your control actually does. If your floor requires suction-only cleaning, you need a configuration that meets that requirement. Turning down suction alone does not stop a powered brush.
When comparing the models in our best vacuums for vinyl floors guide, check the exact included accessories. Different bundles of the same vacuum can arrive with different heads.
Use a small trial to assess handling
After confirming compatibility, clean the attachment and try an inconspicuous area. Check whether it glides freely, collects ordinary debris, and leaves no visible marks. Stop if you notice scraping, unusual resistance, or a damaged contact surface.
This is a handling check, not a substitute for manufacturer approval. An attachment that looks fine after one pass has not been proven safe for every vinyl finish over years of use.
If the head pushes crumbs rather than collecting them, inspect the intake clearance. If dust remains everywhere, check the airflow path and filters. These problems call for different solutions.
Plan for rugs and neighboring tile
Mixed flooring creates a practical question: can you change settings or attachments easily enough to do it every time?
A carpet head may be useful on a compatible rug while a separate hard-floor tool suits the vinyl around it. Keep the appropriate attachment accessible. Avoid dragging a heavy vacuum body or accessory across the floor when switching tasks.
For rooms with tile as well, our tile-floor vacuum guide offers a separate comparison. Do not assume a method suitable for one surface automatically suits the other.
Work through a plank-floor and rug example
Suppose a room has vinyl planks and a small rug. First identify the floor maker’s permitted dry tool and the rug’s care requirements. Then check whether the actual vacuum can implement both configurations. A multi-surface label does not settle the question if the head’s brush continues rotating in every setting.
If the rug needs straight suction, use a documented appropriate non-powered tool rather than assuming a soft powered roller is equivalent. If the planks permit the supplied powered head, keep the wheels, contact strips and inlet clean before moving back from the rug.
The useful purchase is the complete working configuration. A motor body with an impressive power rating but no suitable head does not meet the floor-care requirement. Our vinyl-floor comparison separates dry pickup, robot maintenance and permitted wet cleaning.
Identify what each floor control actually changes
Read the exact manual and note whether a button changes suction, brush speed, brush operation or an automatic mode. These controls solve different problems. Lowering the motor setting does not necessarily stop a powered brush, and a carpet icon can describe a mode without establishing compatibility with your floor.
Check the visible tool arrangement while following the instructions, with power disconnected before handling the underside. Do not defeat a switch or remove a part to create an undocumented brush-off mode. If the required configuration is not supported, choose a compatible tool or a different cleaning method.
This check prevents buying on the assumption that every hard-floor setting has the same meaning. Exact controls and included head numbers are more useful than a generic promise that a vacuum works on everything.
Use maintenance to preserve the contact condition
Inspect the main wheels, any small rollers, felt strips and the nozzle edge. Hair wrapped around a wheel can stop it turning, and trapped grit can change how an otherwise suitable tool contacts the floor. Remove material only as the tool’s maintenance instructions permit.
If a strip is missing or an underside component is damaged, resolve it with the correct part or support route before continued use. A clean soft roller does not compensate for a hard damaged edge beside it.
Keep the tool dry and store it without deforming contact surfaces. These checks do not certify a scratch-proof result; they help maintain the configuration the manufacturer intended. Stop if the tool drags, catches or leaves an unexpected mark, and assess the cause before repeating the pass.
Keep the tool identity with the floor-care record
Save the actual floor-head model or part number and the permitted setting with the flooring instructions. A replacement head with a similar shape can have a different brush and wheel arrangement.
Recheck compatibility when changing tools rather than assuming the original purchase settles every future configuration. This is especially useful in a shared household where someone may fit a carpet head without realizing the floor routine depends on a separate non-powered nozzle.
Frequently asked questions
Can a dirty soft roller scratch vinyl?
Trapped grit is a reason to inspect and clean any attachment before use. “Soft roller” describes part of the design; it does not promise that debris cannot become lodged in it.
Do I need the highest suction setting?
Use an effective setting recommended for the machine and attachment. Extra power will not fix a damaged wheel or make an unsuitable brush acceptable.
Can I collect spills with a normal vacuum?
Only use a machine specifically designed and approved for liquid pickup. A dry vacuum's hard-floor setting does not turn it into a wet cleaner.

Abi Khan is the founder and a content writer at GlobVacs. His published work covers vacuum-cleaner buying guides, product comparisons and practical maintenance advice. Read his author profile and selected articles.