
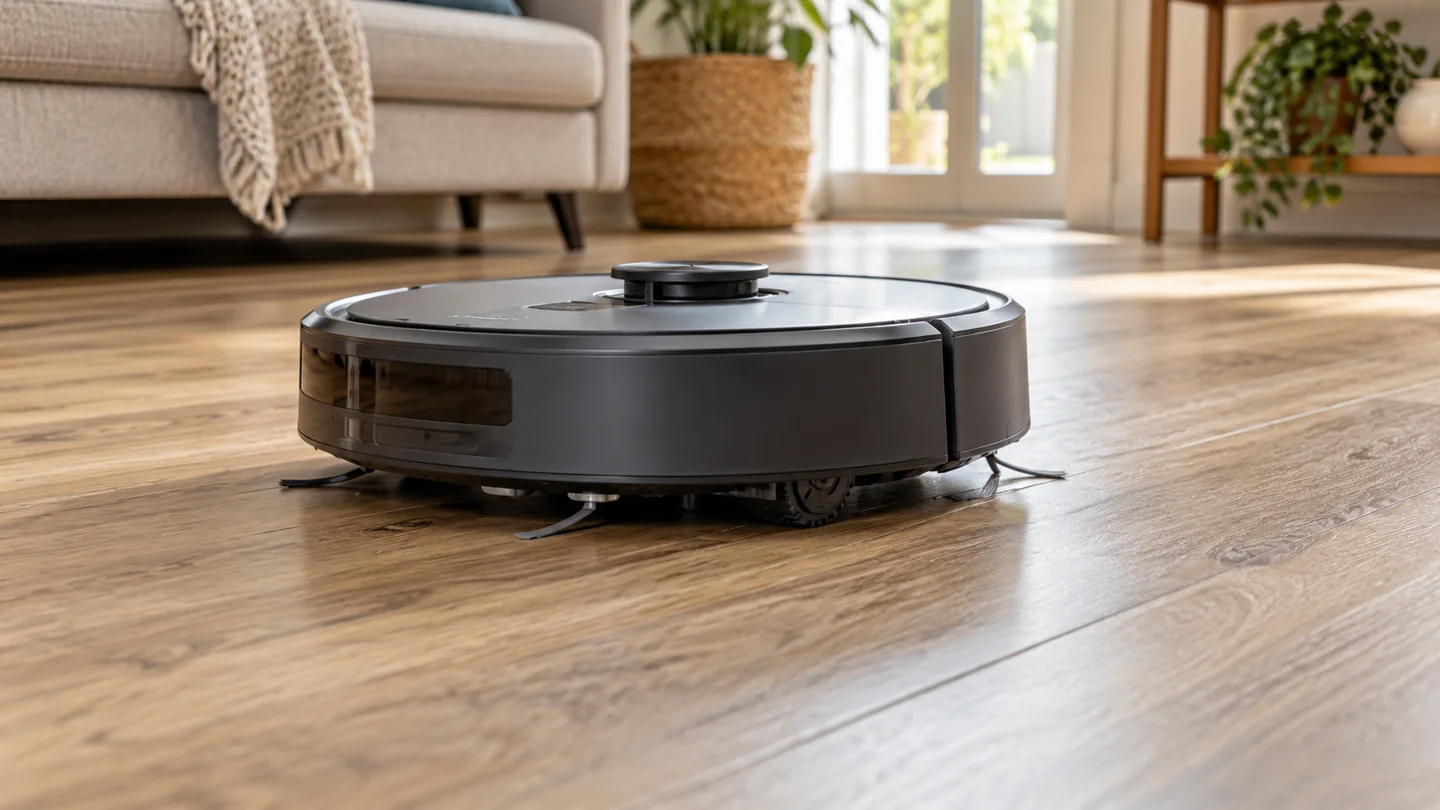
A robot vacuum can be suitable for vinyl flooring, but compatibility depends on the floor’s care instructions, the robot’s cleaning head, and the condition of its wheels and underside. Do not assume every robot is safe because it has rubber rollers or is advertised for hard floors. Trapped grit, a damaged component, repeated contact at a threshold, or unsuitable wet cleaning can still cause problems.
Start with the flooring manufacturer’s instructions. Some vinyl care guides prohibit a beater bar or powered rotary brush head. If your robot cannot operate in the way your particular floor permits, choose a compatible suction tool or another approved cleaning method. A short test does not override a written restriction or warranty condition.
Check these points before the first run
| Check | Why it matters | What to do |
|---|---|---|
| Exact flooring product | Sheet vinyl, LVT, and LVP can have different care requirements | Find its care sheet and identify prohibited tools or cleaners |
| Brush operation | A robot may not offer brush-off cleaning | Confirm whether its operating mode meets the floor’s instructions |
| Wheels and underside | Embedded grit or damage can mark the surface | Clean and inspect contact points before use |
| Thresholds and loose edges | Repeated struggling can drag the body or move a transition strip | Block the route until the obstruction is addressed appropriately |
| Wet-cleaning mode | Water-resistant material does not establish suitability for every mopping method | Follow both the floor and robot instructions |
Vinyl is a family of floors, not one identical surface
Vinyl flooring includes sheet products, luxury vinyl tile, and luxury vinyl plank. Individual products differ in construction, surface finish, installation method, and care requirements. Do not assume that a thicker plank is immune to scratching or that every tile product is more durable than every sheet product.
The installed condition also matters. A loose seam, lifted edge, damaged transition, or exposed adhesive needs attention before an automated machine repeatedly crosses it. Cleaning cannot repair those problems. Photograph the area and consult the installer or floor manufacturer if you are unsure whether it is safe to use normally.
Keep a copy of the care instructions with your purchase records. This makes it easier to check a new robot, floor cleaner, replacement pad, or accessory later instead of relying on broad “vinyl safe” marketing language.
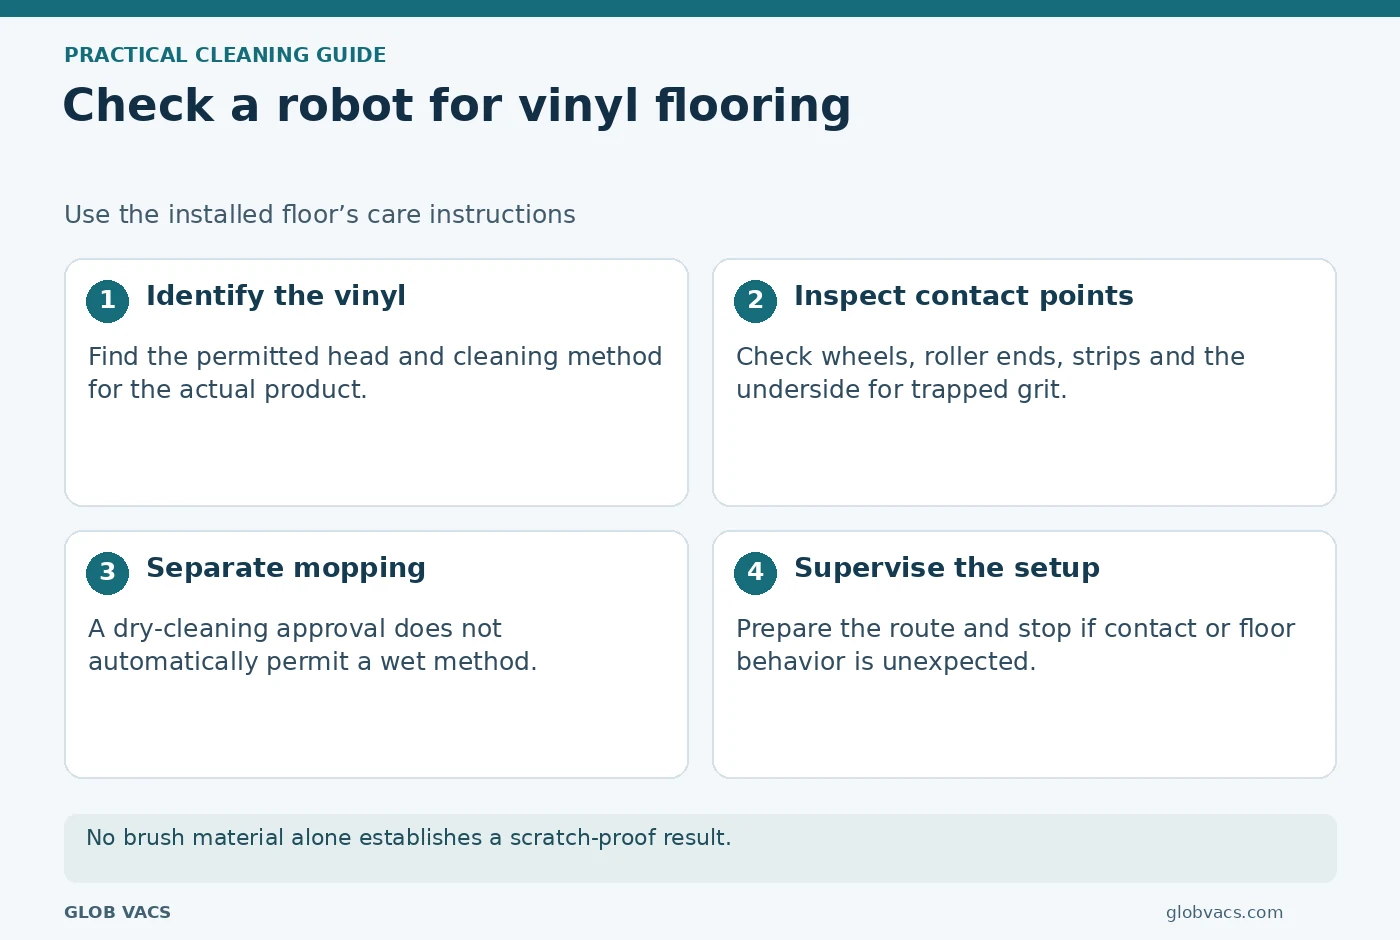
Read the brush restriction literally
For example, Mohawk’s vinyl care guidance says not to use vacuums with a beater bar or power rotary brush head. This is a product-care restriction, not a claim that only stiff bristles can cause damage. A rotating rubber roller is still a powered rotating cleaning component.
Look up how your exact robot operates. An app setting labeled “quiet,” “eco,” or “hard floor” may change suction without stopping the main roller. Do not remove a required brush assembly or modify the machine as an improvised way to comply. Ask the manufacturers about compatibility if the instructions are unclear.
Where the floor permits the robot’s cleaning system, judge the whole head rather than the roller material alone. Side brushes, caster wheels, drive wheels, protective strips, and the underside can all touch or approach the surface.
The main scratch risk is often material trapped underneath
A small stone caught in a caster or lodged beside a roller can be dragged along a route. Entryways are worth checking particularly carefully after outdoor work, bad weather, or a delivery that brought grit inside. Pick up hard fragments manually before sending the robot through the area.
With the robot powered off as instructed, inspect the caster, drive-wheel treads, roller ends, intake opening, and underside. Remove loose debris using the manual’s maintenance procedure. Check for cracked plastic, a missing cover, a distorted brush, or a component that no longer sits flush.
Stop the run if you hear scraping or see a new trail. Inspect the robot before moving it elsewhere. Repeatedly running over the same path to “clean away” a mark can make the situation worse if the source is still trapped underneath.
A sensible first-run procedure
- Clear the route. Pick up cords, loose plastic, small toys, grit, and objects that can become trapped in the intake.
- Check the robot. Confirm that the roller cover, bin, and required filters are fitted and that the wheels move normally.
- Start with a small permitted area. Use the appropriate documented mode and keep wet cleaning disabled unless it has been separately approved.
- Watch transitions and turns. Check whether the robot spins repeatedly, scrapes its underside, or pushes against a lifted edge.
- Inspect afterward. Look at the floor in ordinary angled light and check the underside again before expanding the route.
A supervised introduction helps reveal practical problems with your room layout. It cannot guarantee that every later run will be trouble-free, so make inspection part of routine maintenance rather than a one-time purchase check.
Use mopping functions as a separate compatibility decision
A vacuum-and-mop robot introduces water, a pad, and possibly a cleaning solution. Those are additional variables beyond dry pickup. Confirm the floor’s permitted cleaning method, the robot’s approved solution, and whether the robot controls water appropriately for that surface.
Do not put vinegar, bleach, essential oils, detergent, or another homemade mixture into a tank unless the robot’s instructions specifically allow it and the floor instructions agree. A product suitable for a manual mop is not automatically suitable for the robot’s internal pump and seals.
Watch for wet patches at seams, edges, and where the robot pauses. Remove and clean pads as directed, and use the dock’s protective arrangement if specified. A permanently damp pad parked on the floor is a different exposure from a brief controlled cleaning pass.
If you are assessing a powered wet cleaner as an alternative, read our separate guide to using a BISSELL CrossWave on vinyl plank. Compatibility needs the exact floor and machine instructions in that case too.
Thresholds, furniture, and docks need attention
A low-profile robot is useful under furniture, but its overall height does not determine whether it will cross a threshold safely. Wheel design, approach angle, the shape of the transition, available traction, and the manufacturer’s stated obstacle limit all matter.
If the robot repeatedly rocks or spins at a doorway, exclude that spot until you have a suitable solution. Do not let it repeatedly force a loose strip. A ramp also needs to be stable, compatible with the floor, and suitable for the robot; adhesive or backing materials can create their own floor-care issues.
Place the dock where the robot has the required approach clearance and where charging equipment can stay dry. A hidden cabinet with inadequate space may cause repeated docking attempts and wheel movement in one small area. Read the manufacturer’s dock placement instructions before choosing a discreet location.
How often should the robot clean vinyl?
Base the schedule on how quickly grit, crumbs, and hair accumulate. An entrance area with pets may need attention more often than a rarely used bedroom. More cycles are useful only if the robot remains clean and compatible with the surface.
Start with a manageable schedule and inspect the busiest routes. Increase frequency where visible debris returns between runs, while continuing manual checks at edges and in places the robot cannot reach. Our guide to robot-vacuum scheduling addresses frequency in more detail.
When a manual vacuum is the better choice
A manual vacuum with an approved hard-floor tool may be preferable when the floor prohibits the robot’s powered brush, the layout has troublesome transitions, or the surface needs close inspection. It also gives you direct control around a damaged area while you arrange a repair.
Compare attachment compatibility, clean wheels, handling, and maintenance access before prioritizing suction figures. Our vinyl-floor vacuum buying guide can help organize those buying questions. Follow the floor’s written requirements when assessing any shortlisted machine.
For manual cleaning between robot runs, compare vacuum heads for vinyl plank flooring. The important checks are the permitted brush action, tool condition and contact surfaces, rather than the general label on the vacuum.
Frequently asked questions
Are rubber rollers guaranteed not to scratch vinyl?
No. Roller material alone does not establish compatibility, and grit can lodge in other contact points. A rubber roller also does not override a manufacturer’s restriction on powered rotary brush heads.
Can a robot clean loose vinyl edges?
Keep it away from a lifted or loose edge until the flooring issue has been assessed. The robot may catch, push, or repeatedly work against the area. Cleaning settings are not a repair method.
Does waterproof vinyl make robot mopping automatically safe?
No. Check the care instructions for the installed floor, including seams, edges, cleaners, and permitted equipment. Material water resistance does not approve every method or eliminate the need to manage spills.
Make compatibility the first decision
Use the floor’s care sheet to establish which cleaning systems are allowed, then inspect and test the compatible robot in your actual layout. Clean contact points, sensible routes, and controlled moisture matter more than a generic promise that a machine works on all hard floors.

Abi Khan is the founder and a content writer at GlobVacs. His published work covers vacuum-cleaner buying guides, product comparisons and practical maintenance advice. Read his author profile and selected articles.