
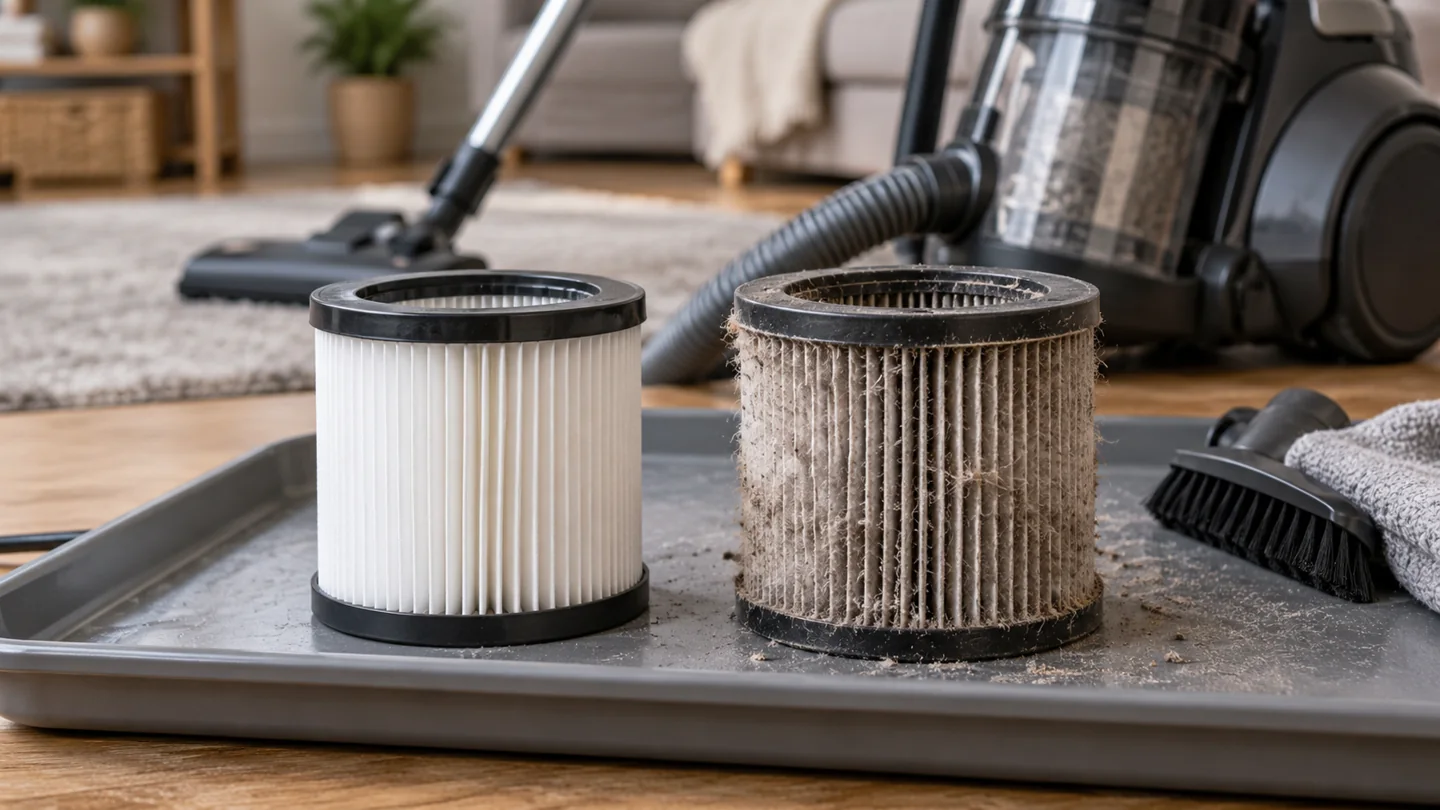
Change a vacuum filter when the exact model’s instructions, filter indicator, condition, or performance checks call for replacement. There is no universal three-month, six-month, or yearly schedule that fits every filter. Some elements are washable and reusable; others must stay dry and be replaced. One vacuum may contain both types.
The useful question is therefore not only “How often should I change it?” You also need to know which filter you are looking at, whether it can be cleaned, how its replacement interval is defined, and whether another problem is causing weak pickup. This guide gives you a practical way to make that decision without washing a nonwashable filter or replacing parts unnecessarily.
Find the filter’s identity before choosing a schedule
Use the full vacuum model number and the owner’s manual to identify the filter position and part number. Common locations include before the motor, after the motor, beside a cyclone, and at the exhaust. Product terms such as foam, felt, cartridge, pleated, HEPA, or odor-control describe different aspects of the component.
Do not infer washability from appearance. A pleated element may be washable on one model and nonwashable on another. A foam pre-filter may have a different schedule from the exhaust filter sitting elsewhere in the same vacuum.
| Instruction you find | What it means in practice |
|---|---|
| Inspect regularly | Check condition and loading; inspection is not automatic replacement |
| Washable | Use only the specified washing and drying procedure |
| Do not wash | Keep it dry and follow the approved dry-care or replacement instruction |
| Replace at a stated interval | Record the date or operating hours and follow any condition-based exceptions |
| Replace when the indicator changes | Understand what the indicator measures and how it is activated or reset |
| Replace if damaged | Do not continue using torn, distorted, or poorly sealing media |
Manufacturer examples show why one rule does not work
BISSELL’s CleanView filter guidance distinguishes a washable pre-motor filter from a post-motor filter that is not washable. Follow the page only where it matches your model; the point is that two filters in one product family can require different treatment.
For a different design, Miele’s Boost CX1 guidance describes replacement instructions for specific exhaust filter types, including an approximately yearly interval for one type and a timestrip indicator for another. Those instructions should not become a blanket annual rule for every Miele or every HEPA filter.
Dyson’s cordless filter-care instructions emphasize washing and complete drying for the filters they cover. A minimum drying time is a maintenance requirement, not a promise that the filter will be dry in every room at that exact hour.
What can shorten the interval between checks?
Heavy use, a large amount of ordinary fine dust, frequent pet-hair pickup, or a collection system allowed to overfill can increase maintenance needs. The amount and type of debris matter as well as the number of cleaning sessions. Ten short passes over a clean room are not the same load as one demanding cleanup.
Do not use a household vacuum for prohibited material simply because you plan to change the filter afterward. Hazardous renovation dust, hot ash, liquids in a dry-only machine, and flammable substances need appropriate equipment and handling. A new filter does not convert a domestic vacuum into a rated hazardous-dust extractor.
If a filter becomes heavily loaded unusually quickly, check the bin’s fill limit, separator, bag installation, and seals. Repeated replacement without investigating the cause can be expensive and may leave the underlying issue unresolved.
Signs that deserve inspection
Reduced pickup or a blockage warning
A loaded filter can restrict airflow, but a blocked hose, full bag, tangled roller, or leaking connection can produce similar symptoms. Inspect the complete accessible airflow path with the power isolated. Do not buy a filter solely because the floorhead leaves crumbs behind.
Visible damage or poor fit
Tears, cracks in the frame, collapsed media, damaged seals, and a component that no longer seats correctly are reasons to replace it with the correct part. Do not glue, tape, trim, or stuff extra material around a filter as a repair.
Dust escaping from the exhaust
Stop and check the assembly rather than continuing to distribute dust. A missing filter, torn bag, misaligned seal, or damaged housing may be involved. A replacement filter alone may not correct a leak elsewhere.
Odor, heat, or unusual noise
These symptoms need context. A dirty filter is only one possibility. Smoke, electrical odor, sparking, or an overheating battery requires stopping use and arranging assessment. See burning-smell troubleshooting rather than assuming a filter change is enough.
Clean or replace? Use this decision sequence
- Switch off and isolate power. Follow the vacuum’s maintenance instructions before opening filter compartments.
- Identify the exact element. Match its position and part number to the manual.
- Check for damage. Replace damaged or incorrectly fitting components rather than trying to restore them.
- Follow the permitted care method. Wash only a washable element; keep a nonwashable one dry.
- Allow full drying where required. Use a compatible dry spare if the manufacturer allows it, rather than running without the filter.
- Recheck the wider airflow path. If performance remains poor, investigate bags, bins, hoses, heads, and seals.
- Record the next check. Use the actual manufacturer interval and adjust inspection frequency for your use.
For the full maintenance routine, read how to clean a vacuum. For a suspected obstruction, use the hose-unclogging guide instead of repeatedly washing an already clean filter.
Buying a replacement filter
Match the full model, filter position, part number, and revision where specified. A seller’s broad compatibility list is worth checking against the manufacturer’s parts information. Similar dimensions do not establish the same sealing arrangement or filtration specification.
Inspect the replacement before fitting it. Check the frame, gasket, media, and orientation. Do not force a cover closed over a poorly seated filter, install two exhaust elements where only one belongs, or remove a seal to make a part fit.
Keep the packaging and receipt until fit and operation are confirmed. If a part is sold as genuine, buy from a source whose identity and return terms you can verify. Avoid treating a low price or a matching photograph as proof of compatibility.
Keep a simple maintenance record
A note on your phone or inside your household maintenance folder can list the model, filter part numbers, last inspection, last permitted wash, replacement date, and drying instructions. If the filter has an indicator, record any activation procedure from the manual.
Separate replacement from routine inspection. A reminder can prompt you to check condition without creating an unnecessary automatic purchase. When several people use the vacuum, make it clear if a filter is drying so nobody operates the machine incomplete.
Frequently asked questions
Do HEPA filters always last longer?
No universal lifespan follows from the HEPA label. Loading, design, use, and manufacturer instructions determine maintenance needs. The label does not decide washability either.
Can I vacuum without a filter while the old one dries?
No, not where the appliance requires that filter. Wait for correct reassembly or use a fully dry compatible replacement if permitted. Removing filtration can expose the machine and room to material it was meant to contain.
Can compressed air restore a nonwashable filter?
Do not assume so. It can damage media or release dust. Use only the dry-care procedure the manufacturer specifies, or replace the element when directed.
Will a new filter remove every odor?
No. Moisture, contamination, a dirty bin, or an electrical fault can cause odors. Particle filtration is not the same as removing gases or correcting the source. Identify the cause rather than repeatedly changing filters.
Use the right interval for the right component
The strongest routine combines the manufacturer’s schedule with condition checks and sensible troubleshooting. Identify each filter, care for it correctly, replace it when needed, and keep the rest of the airflow path in good order.

Abi Khan is the founder and a content writer at GlobVacs. His published work covers vacuum-cleaner buying guides, product comparisons and practical maintenance advice. Read his author profile and selected articles.