
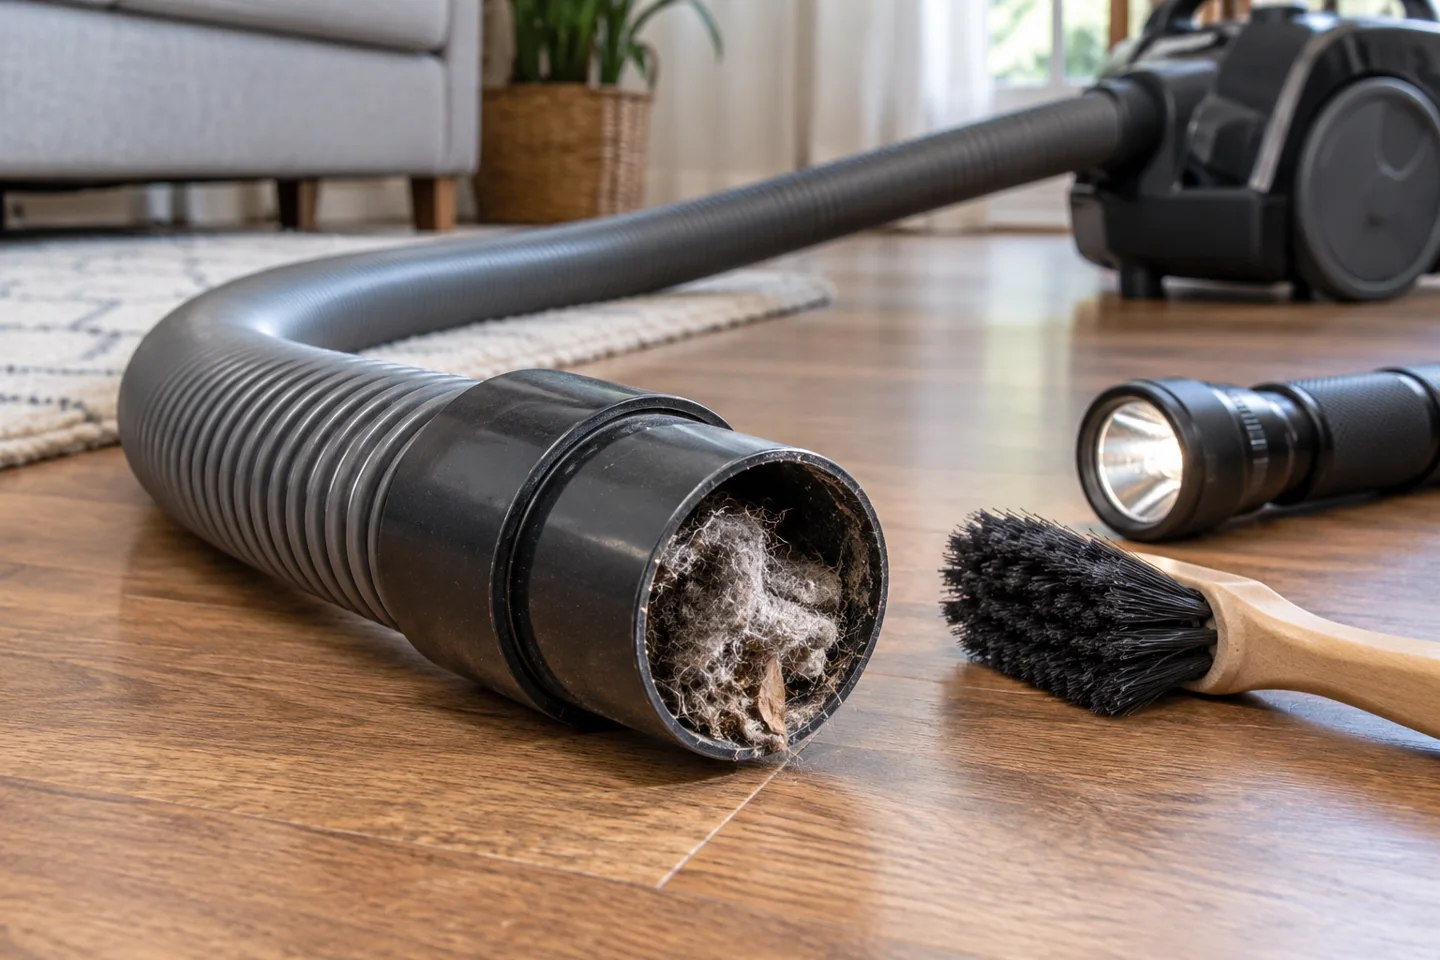
To unclog a vacuum hose, switch the machine off, disconnect power, remove the hose only as the manual allows, and locate the obstruction before trying to move it. Loose debris may shake out gently. A stubborn blockage may need the manufacturer’s approved method or a replacement hose. Do not pierce the hose with a screwdriver or coat hanger, use a hammer, or run the vacuum with required bags and filters removed.

Weak pickup does not always mean a hose blockage. The bin, bag, filter, cleaning head, wand, internal duct, or a loose connection can produce similar symptoms. This guide helps you narrow the problem, clear accessible debris carefully, and know when to stop rather than damage an expensive hose assembly.
Is the hose actually blocked?
Think about where performance changed. If the floorhead leaves debris but an appropriate hose tool still collects normally, the fault may be in the head or its local airway. If several tools perform poorly, the shared airflow path, collection system, or filters may be involved.
A blockage indicator can be useful, but interpret it using the manual. Some bag indicators respond to resistance in the airflow, so a warning can appear before the bag looks physically full. Fine dust can also load collection material differently from bulky hair.
| Symptom | Checks worth making with power disconnected |
|---|---|
| Weak pickup through every attachment | Bag or bin level, required filters, shared ducting, hose, and seals |
| Normal hose pickup but poor floor pickup | Floorhead opening, roller, head connection, and local duct |
| Object visibly lodged near a hose end | Whether it can be removed gently without pushing it deeper |
| Whistling or air entering a split | Hose damage, connection seating, and seals |
| Smoke, electrical odor, or melted parts | Stop ordinary clog troubleshooting and arrange assessment |
Never test suction against your hand, skin, or eyes. Use the manufacturer’s troubleshooting sequence rather than creating a seal over the intake to judge strength.
Gather a small, appropriate set of supplies
For an ordinary accessible dry blockage, begin with a flashlight, a waste bag or container, a protective work surface, and the owner’s manual. Gloves may help with dirty debris, but they do not make a sharp object safe to handle blindly.
Do not start with sharp metal probes, solvents, a pressure washer, or an air compressor. A hose may contain electrical conductors, powered-tool connections, internal valves, or delicate fittings. Identify its construction before using anything inside it.
Record the model number before disconnecting parts. Similar-looking hoses can use different catches or seals. Pulling a connection that actually needs a release button can damage the fitting.
Step 1: isolate power and let moving parts stop
Switch the vacuum off and unplug the cord from the outlet. For a battery-powered model, follow its instructions for safe maintenance and user-removable battery isolation where applicable. Keep powered attachments disconnected and wait for the brush to stop.
If the appliance is hot after a protective shutdown, follow its model-specific cooling instructions before maintenance. Do not assume one universal waiting period applies. Smoke, a burning smell, damaged wiring, or battery swelling requires a different response; see smoking-vacuum guidance.
Empty the bin or replace a disposable bag at its specified limit. Confirm the bag is fitted properly and that the bin lid and seals are closed. Inspect the required filters according to their individual care instructions.
Do not remove the bag and attach an improvised plastic container. Do not run the vacuum without its required filters. Those components are part of the intended airflow and debris-containment system, not optional restrictions to bypass during a test.
If filter care is overdue, complete that procedure and allow any permitted washed parts to dry fully before reassembly. See when to clean or change vacuum filters for the separate maintenance decision.
Step 3: remove only the parts the manual permits
Detach the floor tool, wand, and hose using their release mechanisms. Photograph the connections if that will help reassembly. Work over a surface where loose debris can be contained, keeping connectors away from moisture.
Some machines have accessible lower hoses, inspection covers, or removable bends in addition to the main hose. Others require service for those areas. Do not unscrew a motor or electrical housing because an unrelated model’s video shows a similar-looking part.
Dyson’s DC14 blockage instructions, for example, identify several specific inspection locations and warn about sharp objects. Use that as an illustration of why the exact model diagram matters, not as a universal disassembly guide.
Step 4: locate and remove the obstruction gently
Look through straight sections with a flashlight. Check both ends and accessible bends. Keep your face away from openings and do not reach blindly into material that may contain glass, pins, or other sharp debris.
For loose ordinary material, hold the detached hose over the waste container and gently change its orientation. A blockage near the opening may be removable without forcing anything along the hose. Stop if an object catches or the hose begins to deform.
Some manufacturers permit a long blunt object to move coarse material through a particular detached hose or wand. Follow that instruction only where it applies, using light pressure and protecting the internal wall and fittings. Do not force a rigid handle around bends or through electrical hose components.
If the obstruction will not move easily, contact support. Repeated force can turn a removable clog into a punctured hose, broken fitting, or damaged conductor. A service visit or compatible replacement may be the more practical option.
Should you wash the hose?
Only if the manual explicitly permits it for that component. An ordinary-looking flexible hose may contain wires or connections that must stay dry. Detachability does not establish washability.
If washing is permitted, use the prescribed water, cleaning agent, and drying method. Do not improvise with boiling water, bleach, drain cleaner, or strong solvent. Refit the hose only after it meets the manufacturer’s drying requirements.
A hose contaminated by liquid, chemicals, or hazardous debris may need a specific service or disposal procedure. Tell support what was collected rather than treating every obstruction as ordinary household dust.
Step 5: inspect, reassemble, and follow the documented test
Check the hose for splits, crushed sections, damaged seals, loose cuffs, and electrical connector damage. Refit each part in the intended orientation and confirm its catch has engaged. Put every required bag, bin, cover, and dry filter back in place.
Use the manual’s normal test procedure only when there is no unresolved safety fault. If pickup remains poor, return to the airflow path rather than repeatedly probing the hose. The issue may be a filter, seal, head, or internal component.
For the wider maintenance sequence, see how to clean a vacuum. If material is being scattered at the head rather than simply left uncollected, dirt-spitting troubleshooting addresses that different symptom.
Prevent the next blockage
- Pick up larger objects, cords, socks, and loose packaging before cleaning.
- Use the vacuum only for materials its instructions allow.
- Empty or replace the collection system before overfilling.
- Maintain the roller and filters according to the component-specific procedure.
- Store the hose without crushing it or forcing a sharp bend.
- Stop when performance changes instead of continuing to collect debris into a restricted airway.
Frequently asked questions
Can I use compressed air?
Do not use it as a general household method. It can spread dust and drive material into places you cannot inspect. Follow a specific manufacturer instruction if one exists for the component.
Can I use a second vacuum to pull the clog out?
Do not create a taped improvised connection or assume the hose and fittings are suited to it. Ask the manufacturer for an approved method for a stubborn obstruction.
Does a blocked hose mean the whole vacuum needs replacing?
Usually that decision cannot be made from the symptom alone. A removable blockage, damaged hose, or fault elsewhere needs identification first. Replace the complete appliance only when the repair and condition assessment support that choice.
Further reading

Abi Khan is the founder and a content writer at GlobVacs. His published work covers vacuum-cleaner buying guides, product comparisons and practical maintenance advice. Read his author profile and selected articles.