
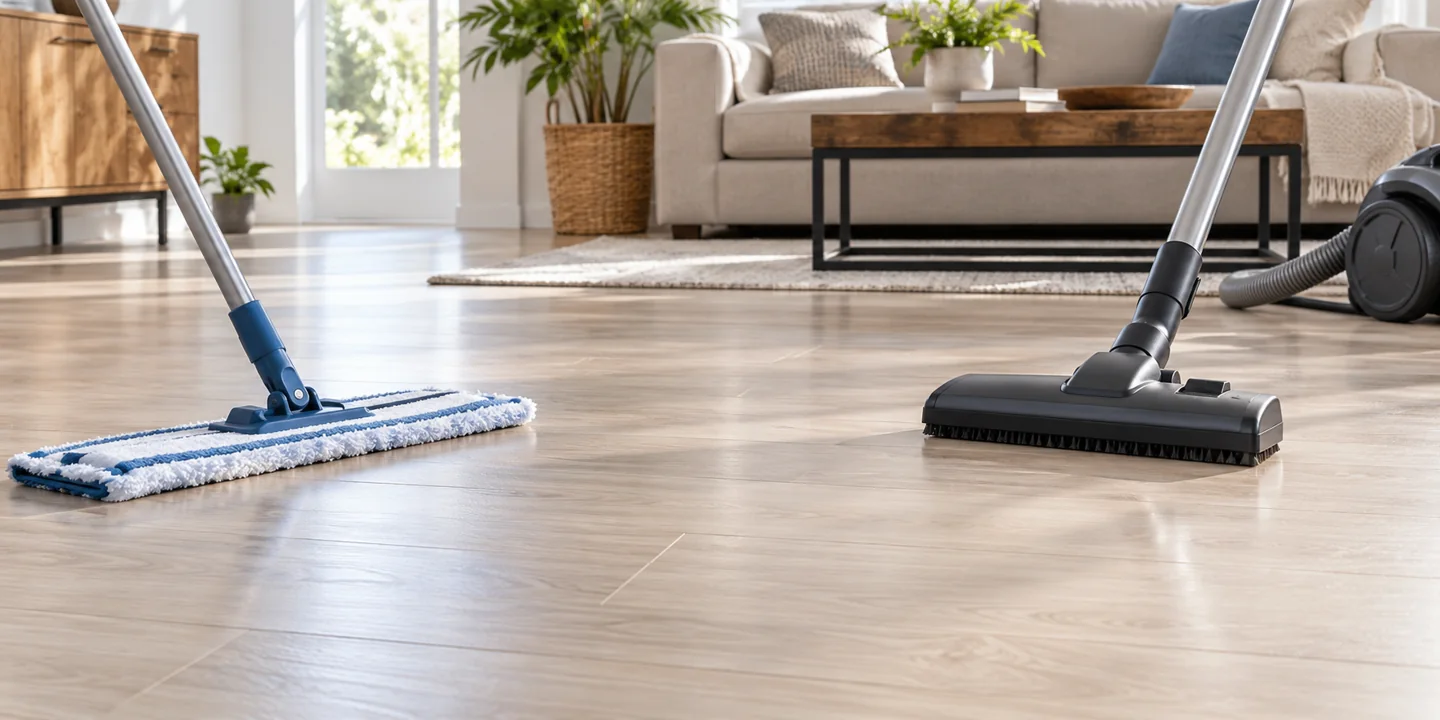
Clean Mohawk laminate by following the care document for the exact product: remove loose debris with a permitted tool, deal with spills promptly, and use only the approved moisture level, cleaner, and equipment. Mohawk sells different flooring products and warranty levels, so do not assume every wood-look floor has the same cleaning rules.

In particular, a waterproof claim does not automatically approve a steam mop, powered scrubber, rotating beater bar, or any household detergent. Identify the floor before selecting a method. If its name or installation records are missing, ask the retailer or manufacturer for help rather than testing it with a puddle of water.
Find the correct product information
Look for the collection and product name on purchase records, spare-plank packaging, or installation documents. Distinguish laminate from luxury vinyl, engineered wood, or hybrid flooring. They may look similar while having different care requirements.
Mohawk Home’s laminate resources provide installation and care documents for that range. Use the document that matches your product and region rather than assuming a retailer’s general blog applies.
Keep the care sheet, warranty, and cleaner information together. This makes it easier to check a new vacuum, robot, wet cleaner, or mop before using it.
Choose the method by the task
| Task | Starting approach | Important limit |
|---|---|---|
| Loose dust, hair, or grit | Permitted hard-surface vacuum tool, dust mop, or suitable soft broom | Follow powered-brush restrictions and keep contact points clean |
| Fresh spill | Absorb promptly with a clean cloth | Do not leave liquid at seams or edges |
| Routine residue | The care document’s approved cleaning method | Do not assume all neutral or household cleaners are approved |
| Persistent mark | Product-specific spot instructions or manufacturer advice | Avoid aggressive chemicals and abrasive scrubbing |
| Swelling or lifted edge | Installer or manufacturer assessment | Cleaning is not a repair |
Step 1: remove loose debris safely
Pick up larger objects and hard fragments before moving a cleaning head over them. Use a permitted tool and inspect its wheels, underside, and contact strips for embedded grit. A soft-looking head can still drag a trapped stone across the finish.
Do not assume the vacuum’s hard-floor mode stops the brush. Read its manual. If the flooring prohibits powered rotary action and the vacuum cannot use a compliant head or mode, choose another approved tool.
Work deliberately around transitions and edges. Stop at a loose strip or damaged seam rather than forcing the head across it. Our floor-by-floor vacuuming guide helps separate laminate from other materials.
Step 2: absorb spills promptly
Use a clean absorbent cloth to remove liquid before it spreads. Avoid pushing contamination into seams or beneath an edge. Follow the product’s spot-cleaning instructions for any residue left afterward.
Do not use an ordinary dry vacuum to collect a wet spill. A wet-rated appliance also needs approval for the floor and task; suction capability alone is not sufficient.
If the floor has visible swelling, a lifted edge, or recurring dampness, investigate the source. Do not cover it with a mat or repeatedly mop over it hoping the appearance will improve.
Step 3: use the permitted moisture level
Read the exact wording for damp or wet cleaning. The Mohawk Home waterproof-laminate care document provides an example of a controlled cleaning method while warning against liquid poured directly onto the floor and standing moisture.
Do not convert that into permission to soak every laminate product. Use the specified mop condition and method for the installed floor, and do not leave puddles at transitions, edges, or beneath furniture.
Keep the mop or cloth clean so you are removing soil rather than spreading a dirty film. Allow the floor to reach the condition required by the care instructions before replacing mats or allowing normal traffic.
Step 4: choose cleaner from the care sheet
Use only the product and dilution the manufacturer permits. A cleaner described broadly as mild, natural, or pH-neutral is not automatically compatible with every finish or warranty.
Do not add dish soap, oil soap, wax, polish, essential oils, or an improvised mixture because the floor looks dull. Residue can change appearance or feel, and some products are specifically restricted.
Apply the approved spot method as directed rather than pouring cleaner into a seam. Keep cleaning products separate and do not mix chemicals. Test only where the care instructions direct; a successful hidden test does not override a prohibition.
Step 5: assess marks without escalating blindly
First distinguish removable soil from a scuff, scratch, wear, or moisture damage. Cleaning cannot restore missing finish or reverse swelling. Repeated scrubbing may enlarge the problem.
Follow the manufacturer’s instructions for the identified mark. For an unknown substance, valuable installation, or persistent stain, contact support before using solvent, abrasive pads, a melamine sponge, or a concentrated cleaner.
Take a clear photo and record what has already been used. That is more useful than applying several products and losing track of which one changed the surface.
Steam and powered wet cleaners need explicit approval
Do not assume water resistance approves heat, steam, or powered scrubbing. Read the equipment restrictions for the exact collection. Some care documents prohibit categories of machinery even when limited manual wet cleaning is allowed.
A vacuum-mop combination or robot can have a powered brush and a wet pad, so its general hard-floor claim is not enough. Confirm that both manufacturers permit the combination.
See robot compatibility with laminate and vacuum-mop tradeoffs for those separate equipment decisions.
Prevent residue and scratching between cleans
Use floor-compatible entrance mats and furniture protectors, inspecting them for grit and wear. Do not assume every rubber backing or adhesive pad is approved. Lift furniture safely instead of dragging it.
Keep loose grit under control in busy routes and clean up food or plant spills promptly. A sensible routine can target entrances and dining areas more often than quiet rooms.
For frequency planning, use how often to vacuum. More frequent use of an unsuitable head is not better maintenance.
What if the floor feels sticky?
Review the cleaner, concentration, application, and cloth condition. A product film or incompletely removed spill needs a different response from a scratched finish. Do not automatically add more detergent.
Use the manufacturer-approved residue-removal method and avoid repeated uncontrolled rinsing. If the cause remains unclear, contact the floor supplier with the product name and cleaning history.
Our sticky-floor troubleshooting guide discusses identifying residue, but its wood-specific instructions should not be copied directly to laminate.
Keep the cleaning tools ready
Maintain the vacuum’s bin or bag, required filters, and head, and keep mop pads clean. Follow each tool’s own washing and drying instructions. Do not operate a vacuum without a required filter while it dries.
See vacuum maintenance. A clean compatible tool is more useful than a complicated cleaning mixture.
Frequently asked questions
Can I use any laminate cleaner?
Check the exact product’s care document. A generic category label does not establish approval for every Mohawk collection.
Does waterproof mean I can leave water on it?
No. Follow the stated care and warranty conditions, including removal of standing moisture. Do not use a marketing label as a substitute for those instructions.
Can a vacuum repair a lifted seam?
No. Keep unsuitable equipment away from the damaged area and seek an installation or product assessment.
Match the care to the collection
Identify the floor, remove loose debris with a permitted tool, use controlled approved cleaning, and investigate damage separately. That gives a more reliable routine than treating every Mohawk wood-look product as the same material.
Further reading

Abi Khan is the founder and a content writer at GlobVacs. His published work covers vacuum-cleaner buying guides, product comparisons and practical maintenance advice. Read his author profile and selected articles.