
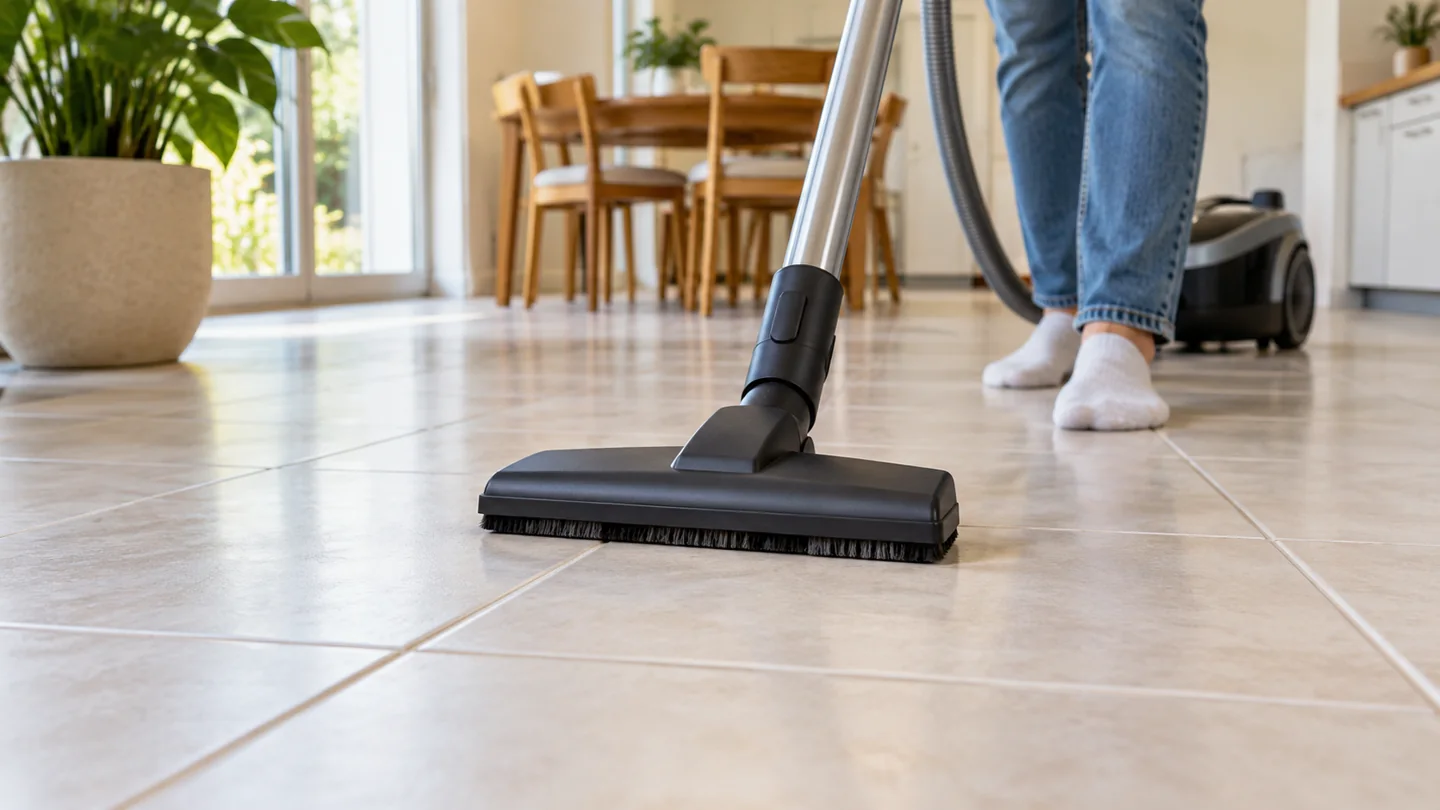
Vacuum tile floors with a compatible hard-floor head, clean wheels and contact strips, and deliberate overlapping passes that collect debris from both the tile and accessible grout recesses. Pick up unsuitable objects first and keep an ordinary dry vacuum away from liquids. Treat stains, grease, and grout discoloration with a separate surface-approved method.

Identify the material before starting. Ceramic, porcelain, quarry tile, and natural stone can have different care requirements. A head or cleaner suitable for one installation should not automatically be used on every floor called “tile.”
Choose the tool by the installed surface
| Surface or detail | What to check |
|---|---|
| Ceramic or porcelain | Finish, head compatibility, clean contact points, and the tile maker’s care guidance |
| Textured tile | Whether the head reaches ordinary debris in the texture without abrasive force |
| Recessed grout | A suitable soft or crevice tool for accessible loose material |
| Natural stone | The exact stone, finish, sealer, attachment, and cleaner restrictions |
| Loose or damaged edge | Repair assessment before repeated contact with the vacuum |
Daltile’s ceramic and porcelain maintenance guide is a useful manufacturer reference. Use the specific instructions for your product and grout where they are more detailed.
Step 1: remove unsuitable material
Pick up cords, coins, small toys, large fragments, and anything the vacuum is not rated to collect. Do not treat broken glass, hot ash, chemicals, renovation dust, or a wet spill as ordinary crumbs.
Check kitchen and bathroom floors for damp patches. An ordinary dry vacuum should not collect water, even if the surrounding tile tolerates washing. A wet-rated appliance is a separate tool with its own instructions.
Move only furniture you can handle safely. Do not drag a heavy table across the finish or leave a chair where it creates a trip hazard behind you.
Step 2: inspect the head and wheels
With power isolated, look underneath for embedded grit, damaged strips, cracked plastic, a loose cover, or a tangled roller. A small hard particle can be dragged across the surface even when the brush is switched off.
Use a head that meets the tile or floor manufacturer’s requirements. Do not assume every setting labeled hard floor turns the brush off. On some vacuums it changes suction or nozzle height while the roller continues moving.
Check the model manual for the actual control behavior. If its cleaning system is unsuitable for the floor, use a compatible attachment or another tool rather than removing required parts.
Step 3: clean in a planned route
Start in a convenient section and work toward an exit without repeatedly walking debris into the cleaned area. Move slowly enough for the head to collect the material and overlap passes where needed.
Do not press down hard to force the nozzle into grout. If it pushes larger crumbs ahead, check the opening, tool choice, collection level, and airflow. A lower head is not always better.
Keep the cable away from the head and clear of sharp edges. For a canister, manage the body so it does not collide with tile corners or furniture as you pull the hose.
Step 4: address edges and grout recesses
Use a compatible soft brush or crevice attachment for accessible loose debris near baseboards and in recesses. Avoid scraping a hard plastic tip along grout or pressing it into a damaged joint.
Vacuuming can remove loose material without changing a stain or old discoloration. Do not repeatedly grind the nozzle against a dark grout line expecting it to bleach clean.
For wet grout cleaning, follow the grout and tile instructions, including product compatibility and residue removal. A chemical suitable for ceramic tile may be unsuitable for nearby marble or another stone.
Step 5: inspect before wet cleaning
Once dry debris is removed, decide whether the floor actually needs washing. Use the approved product, dilution, tool, and rinsing or drying method. Excess cleaner can leave a film, and excess liquid can create a slip hazard or affect adjacent materials.
Do not use a household dry vacuum to recover wash water. Use equipment explicitly rated for the task and surface if recovery is required. Keep electrical connections dry.
Daltile’s porcelain-surface care guidance also distinguishes removing dust and debris before cleaning. Product context matters; countertop or commercial instructions should not be transferred wholesale to every household installation.
What if the vacuum scatters debris?
A rotating brush can flick some particles on hard flooring, while an obstructed intake or loaded collection system can reduce pickup. Identify whether the material is scattering at the head or escaping from the vacuum itself.
Check the appropriate setting, tool, bag or bin, filter, and accessible airway with power disconnected. Do not alter motor wiring or assume the machine is running backward.
Use dirt-scattering troubleshooting for that sequence. For routine appliance care, see vacuum maintenance.
Can a robot vacuum clean tile?
A compatible robot can collect ordinary loose debris on an accessible tile route. Check thresholds, rugs, damp areas, wheel condition, and the cleaning-head restrictions. Inspect recessed grout and edges afterward because coverage does not guarantee equivalent pickup everywhere.
Assess mopping separately. A robot pad may maintain light soil without removing every grout stain or sticky patch. Use only solutions and methods allowed by both the robot and flooring instructions.
Our robot systems guide explains the distinction between navigation, vacuuming, and mopping.
How often should you vacuum tile?
Check busy entrances, kitchens, and pet areas more often than quiet rooms. Remove visible grit promptly with a suitable method. Do not prescribe one weekly interval regardless of traffic and spills.
A small broom or dust mop may suit a quick ordinary dry touch-up. A vacuum can be useful around edges and for hair. Compare vacuuming and sweeping and use frequency planning to build a manageable routine.
Choosing equipment for tile
Look for a compatible head, effective ordinary-debris pickup, comfortable steering, accessible edge tools, and practical maintenance. Noise, carrying weight, cable reach, and storage can matter more than a large motor-wattage claim.
Our tile-floor vacuum buying guide organizes those questions. Match the exact model and attachment to the care requirements rather than relying on a generic hard-floor label.
Frequently asked questions
Will every powered brush scratch tile?
Do not make that universal claim. Compatibility depends on the surface, head, condition, and manufacturer instructions. Follow any restriction and inspect for trapped grit.
Does a hard-floor mode always stop the brush?
No. Check the exact vacuum’s controls. Some modes alter other settings while the brush continues rotating.
Can vacuuming clean stained grout?
It collects loose debris but may not remove discoloration, grease, or mineral deposits. Use the grout-approved method for the actual problem.
Collect dry debris, then treat residue separately
Use a compatible clean head, cover the accessible floor deliberately, and handle edges carefully. Keep liquid recovery, stain removal, and grout treatment distinct from ordinary dry vacuuming.
Further reading
Can I Vacuum After Pest Control?

Abi Khan is the founder and a content writer at GlobVacs. His published work covers vacuum-cleaner buying guides, product comparisons and practical maintenance advice. Read his author profile and selected articles.